📌 18 de Janeiro, 2025
Splice Wires Like a Pro
Splices may be configured as a simple splice, having one conductor joined to another conductor, or as a complex splice with one or more conductors joined to one or more other conductors. In this article learn how to splice wires up to NASA standards.
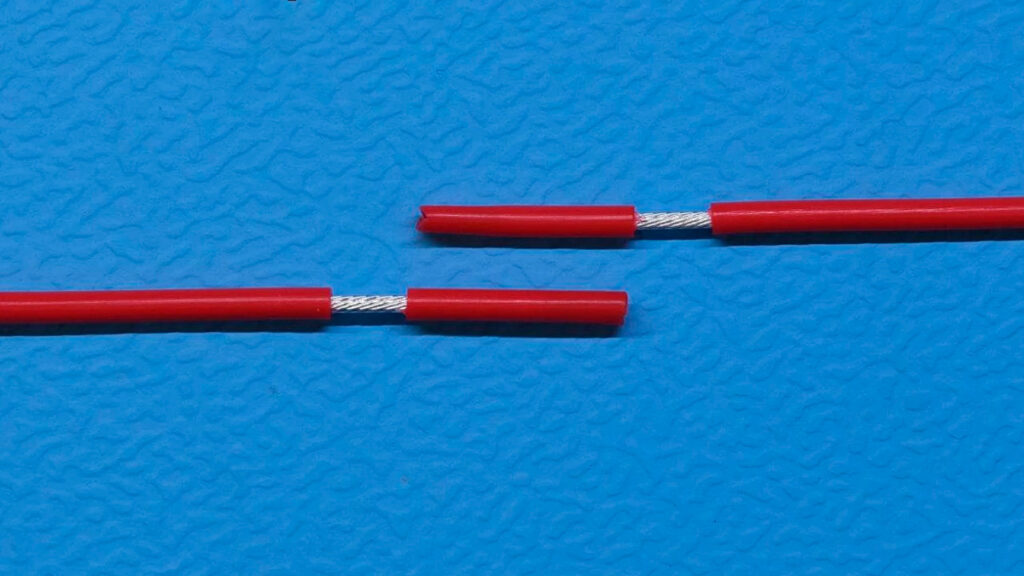
Step 1: Strip the Insulation
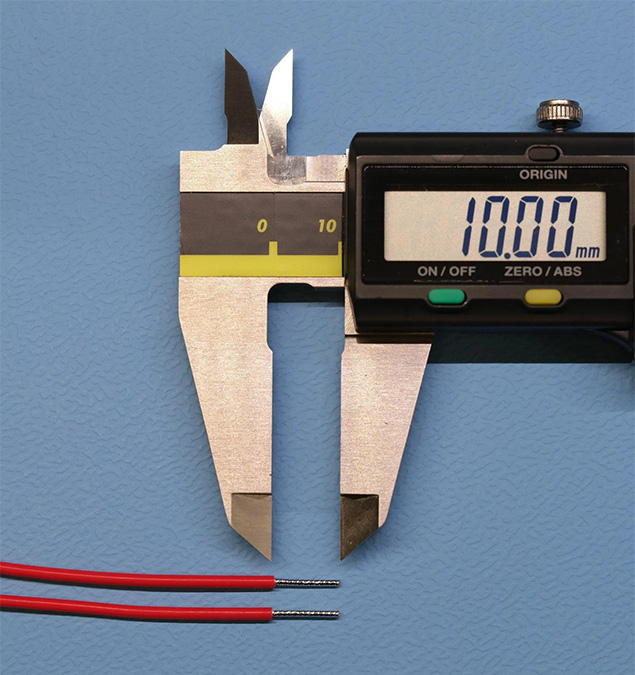
Strip the insulation from the wire, exposing more than 10mm of the conductor. Be careful not to nick or cut any strands of the wire and ensure the insulation is removed cleanly with a precise cut.

Step 2: Pre-tin and Cut to Length
Now, apply a small amount of solder to the wire to pre-tin it. Be sure to apply flux beforehand to ensure the wire is clean and free from oxidation, dust and other particles, which will help the solder flow smoothly and adhere properly.

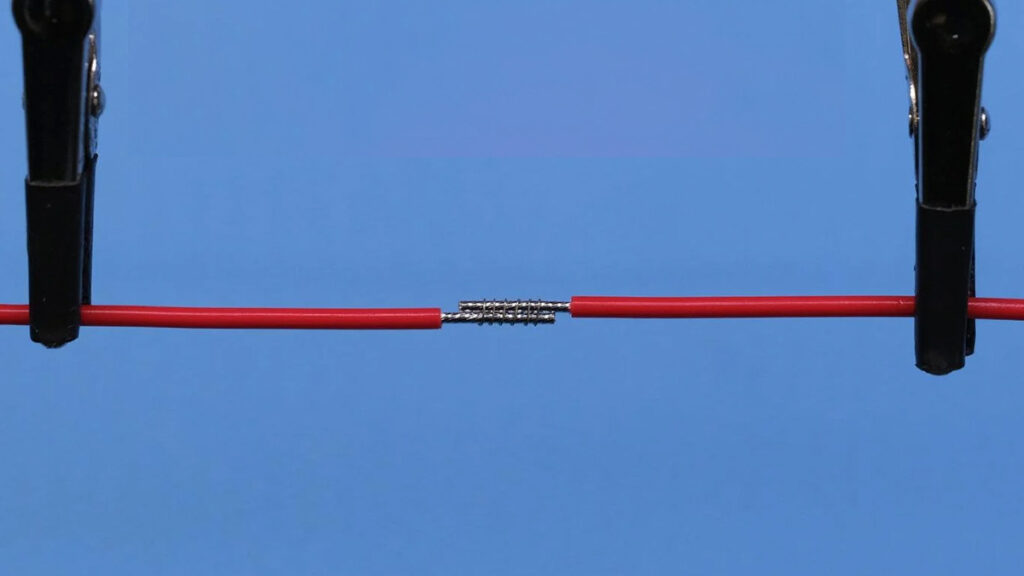
Step 3: Wrap Copper Wire
Proceed to tightly wrap a thin copper wire around the two main wires, ensuring a firm and secure connection. This wrapping increases the mechanical strength of the splice and makes the soldering process smoother by holding the wires in place. Using pliers can greatly assist in achieving a tight and even wrap, providing better contact and stability for the splice.

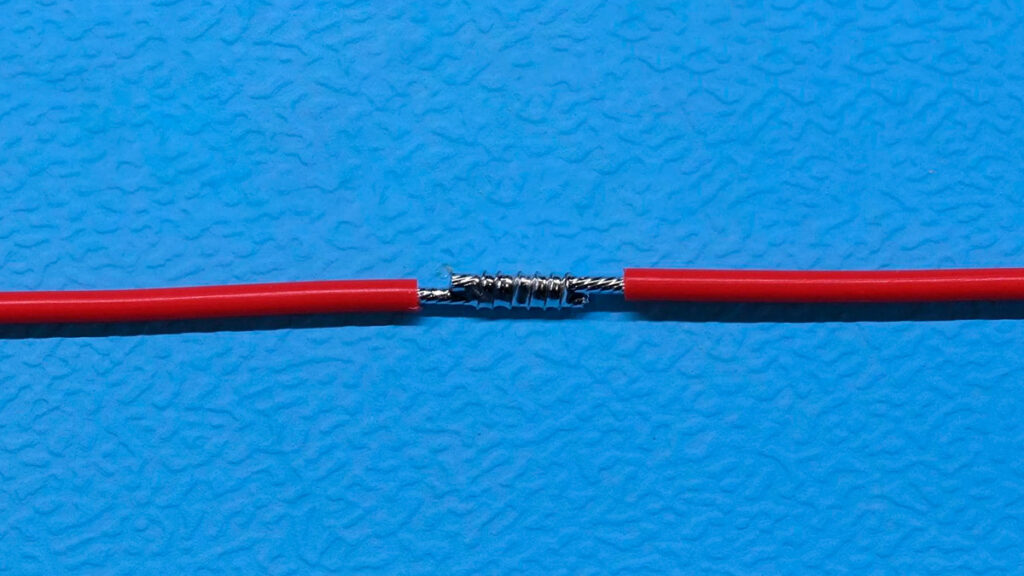
Step 4: Solder Together
Solder the wires together, ensuring you apply flux beforehand to promote a clean and strong connection.

That’s it! You’ve successfully spliced two wires, ensuring a strong and reliable connection. Now, you can finish by adding some heat shrink tubing or another form of insulation over your splice to protect it and ensure durability.
Great job!
Further Reading
What I’ve demonstrated in this post is just one way to splice wires; there are multiple techniques suited for various situations. To learn about these methods, you can refer to NASA’s “Workmanship Standard for Crimping, Interconnecting Cables, Harnesses, and Wiring” (NASA-STD 8739.4A) manual starting at page 67.