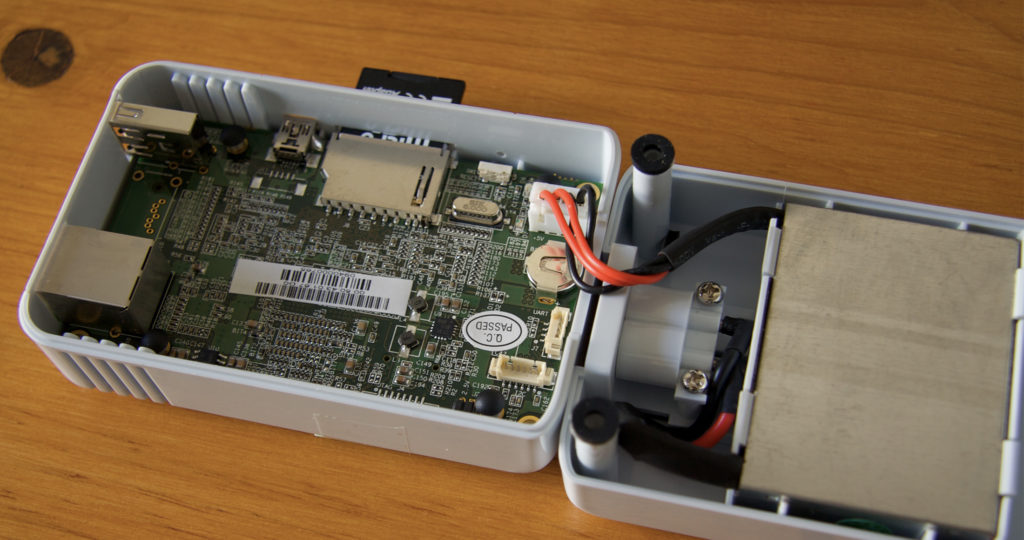
Did you manage to get your Sheeveplug bricked? An upgrade went wrong? Is your device completely unresponsive and unusable? This guide covers how you can use openocd and an old version of Sheevaplug’s U-boot in order to unbrick / debrick it.
Start by installing the necessary tools into your Debian computer:
apt-get install telnet screen openocd
mkdir tmp; cd tmp; wget http://www.downloadsnewit.co.uk/u-boot/recovery/sheevaplug/u-boot.elf
Updated 2023: the link above is dead, you can get it from my mirror at https://cdn.bento.pt/deploy/SheevaplugUnbrick2018.zip.
Now connect your Sheevaplug to the computer using the micro USB port and run the Open On-Chip Debugger on a Terminal window:
cd tmp;
openocd -f /usr/share/openocd/scripts/board/sheevaplug.cfg -s /usr/share/openocd/scripts
On a second Terminal connect to the openocd session and upload the old U-boot image:
cd tmp;
telnet localhost 4444
reset;sheevaplug_init;load_image u-boot.elf;resume 0x00600000
On a third Terminal window launch screen and connect to your device’s serial port:
screen /dev/ttyUSB0 115200
Now you will need to download the latest version of U-boot from here:
Version from 2018 (Debian 9): http://ftp.debian.org/debian/dists/stretch/main/installer-armel/current/images/kirkwood/u-boot/sheevaplug/u-boot.kwb

Version from 2023 (Debian 12): http://ftp.debian.org/debian/dists/bookworm/main/installer-armel/current/images/kirkwood/u-boot/sheevaplug/u-boot.kwb
Grab an empty USB flash drive and reformat it as FAT16 with 8MB of size. I recommend this because on multiple occasions I’ve found that exFAT or FAT32 will lead to upgrade issues, more specifically “Invalid FAT entry” and a bricked device. Under Windows, you can reformat your flash drive following this guide.
Once your USB flash drive is FAT16, drop the u-boot.kwb there and under Sheevaplug’s U-boot prompt run the following commands:
usb start
fatload usb 0:1 0x0800000 u-boot.kwb
nand erase 0x0 0x80000
nand write 0x0800000 0x0 0x80000
reset
Your device should restart with the latest version of U-boot. Now we need to set the MAC address of the ethernet card which can be done with the following commands. Note that the MAC address is written on a label on the device itself.
setenv ethaddr f0:ad:4e:xx:xx:xx
setenv macaddr f0:ad:4e:xx:xx:xx
saveenv
reset
After a reboot, you are done! You Sheevaplug should be back with all its glory!
